Week 9
- aoh2570
- Oct 9, 2023
- 1 min read
Houdini Scene Set Up
Since we were finally able to get the fur simulation looking right, we began to set up our Houdini scenes. The general workflow I followed was importing all my models, textures and camera into the scene, uploading the film plate into my camera to use as lighting reference, copy and pasted the fur/scarf simulation nodes from the master files and connected them where necessary, set up my lighting and then finally, did a test render to check it all looked fine.

Most of my scenes set ups went smoothly except for one - the pool scene. At first, my fur simulation was looking strange even when I tried to hide the visibility. I tried to reload some of my geometry but it did not fix the issue. Therefore I decided to re-set up my scene from scratch and that seemed to fix the issue.

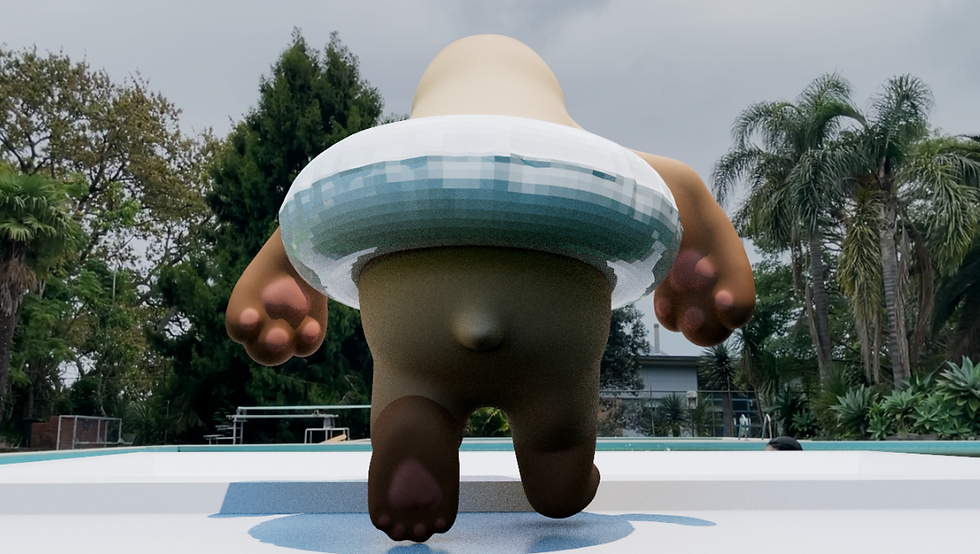
However I then began to have trouble setting up my lighting. I created some geometry for the ground and pool to capture the bears shadow in my render, but the white colour of the geometry reflects a white light onto the bear. This can easily be fixed by disabling 'Secondary Ray Visible' but then the geometry casts a dark shadow onto the bear.
Scene with 'Secondary Ray Visible' turned on:

Scene with 'Secondary Ray Visible' turned off:

Then I decided the best way around this issue was to texture the ground and pool as closely to the objects in my film plate so they reflect realistic shows/light onto my bear. Thankfully this helped even out the light/shadows on the bear in a more realistic way.


Comments